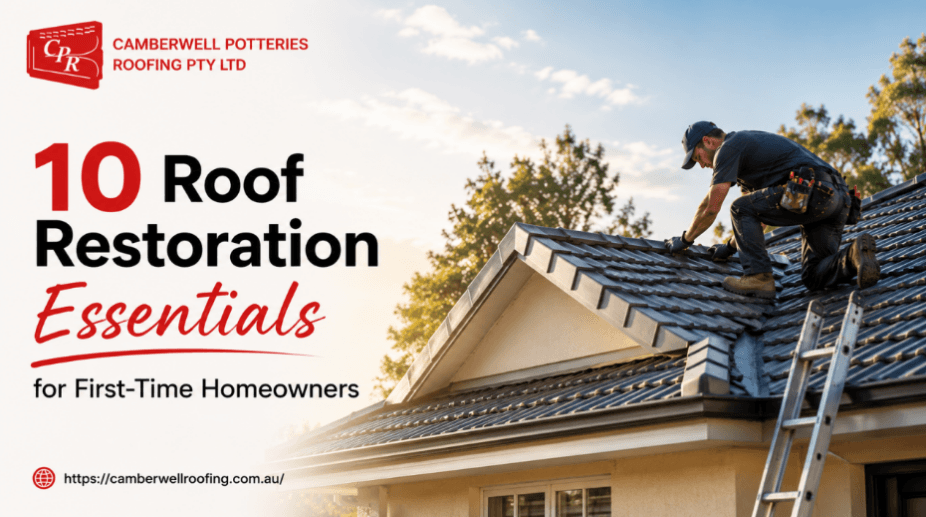
Most Melbourne homeowners think about roof restoration only when something has already gone wrong. For example, when a leak appears or maybe tiles start slipping.
By that point, skipping the pre-restoration checks and jumping straight into a re-roof in Melbourne project is tempting. That is also how restoration jobs go wrong and cost more than they should. In fact, they fail earlier than they should.
Before any tiled roof restoration begins, the below-mentioned checks determine whether the job will hold for a decade or start failing within two years.
What Should You Check Before Roof Restoration?
1. Check the Age and Material of Your Roof
The roof restoration process starts with knowing exactly what you are working with. Concrete and terracotta tiles behave differently and require different cleaning methods, sealants, and coatings.
What to confirm before anything else:
● Tile material — concrete or terracotta
● Approximate age of the roof
● Whether any previous restoration work has been done
● What products were used in any prior restoration
Concrete roof tiles Melbourne homes commonly have respond well to restoration when the structure beneath is sound. Terracotta tiles require specific soft-wash cleaning methods rather than high-pressure washing. Getting this wrong at the start affects every step that follows.
2. Inspect the Roof Structure from Inside the Ceiling
A roof inspection begins inside, not outside. The ceiling cavity reveals what the surface cannot.
Look for:
● Damp insulation or a moisture smell
● Light visible through the roof structure
● Water staining on timber battens or rafters
● Any signs of active or past water entry
Structural timber issues discovered in the ceiling significantly change the scope and cost of any restoration. Finding them before work begins is far better than finding them once the old tiles have come off.
3. Assess the Ridge Capping Condition
Ridge capping is the most common failure point on Melbourne roofs. The bedding mortar beneath the ridge tiles dries out and cracks over time. Once it goes, the ridge tiles shift, allowing water to enter the roof cavity below.
Signs the ridge capping needs attention:
● Visible cracks in the pointing compound
● Ridge tiles that rock when pressed
● Mortar that crumbles when touched
● Gaps visible between the ridge tiles from the ground
Roof repointing of the ridge capping is almost always part of a full restoration. Confirming its condition early ensures it is scoped correctly and priced accurately before work begins.
4. Check Every Tile for Cracks and Damage
Cracked roof tiles allow water entry with the next rain and accelerate deterioration in surrounding tiles. A full tile-by-tile condition check from the ground with binoculars, followed by a closer inspection by a qualified roofer, identifies every tile that needs replacement before restoration begins.
On a re-roof Melbourne project, tiles that look acceptable from below sometimes reveal hairline fractures up close that will split completely under the next season of thermal expansion. Replacing them before restoration rather than after prevents the restoration coating from being compromised at those points.
5. Inspect All Flashings
Flashings around chimneys, skylights, valleys, and wall junctions are among the most common sources of persistent leaks. They are also among the least visible from the ground.
A proper flashing check covers:
● Metal flashings for corrosion, lifting, or gaps
● Lead flashings around chimneys for cracking or separation
● Valley flashings for debris accumulation and seal integrity
● Wall junctions where the roof meets vertical surfaces
Roof damage repair to flashings missed during a pre-restoration inspection creates leaks that appear weeks after the restoration is complete and are difficult to trace back to their source.
See also: Easy Weekend Home Improvement Projects
6. Clear and Inspect Gutters and Downpipes
Clean gutters before any restoration work starts. Debris in gutters during restoration accumulates further due to cleaning and waste products, and blocked gutters after restoration cause immediate water damage that quickly undoes the work.
Gutter and downpipe check:
● Clear all debris from gutters and downpipes
● Check gutter alignment and fall toward downpipes
● Inspect fascia condition behind the gutters
● Confirm downpipes are clear all the way through
7. Confirm the Roof Pitch and Drainage Path
A minimum roof pitch of 15 degrees is required for concrete tiles and 12.5 degrees for terracotta. Roofs below these minimums can experience water pooling and backdrafting under tiles during heavy rain. Roof maintenance problems stemming from inadequate pitch cannot be resolved solely through restoration.
Check that water sheets off the roof surface cleanly toward the gutters. Any areas where water pools or tracks sideways rather than down indicate drainage issues that need addressing before coating and sealing.
8. Check for Moss, Lichen, and Biological Growth
Moss and lichen retain moisture against the tile surface and accelerate surface degradation. They must be treated and removed before any coating is applied. Applying sealant over live biological growth traps moisture beneath the coating and causes it to fail prematurely.
Roof sealing over insufficiently cleaned tiles is one of the most common causes of restoration failure within the first two years. The cleaning stage is not cosmetic — it is structural preparation.
9. Identify Any Previous Coating or Paint
Some roofs have been previously coated or painted with products incompatible with modern restoration systems. Applying a new coating over an incompatible existing product causes delamination, bubbling, and failure.
A test patch in an inconspicuous area confirms compatibility before the full restoration coating is applied. Leaking roof repair jobs that follow failed restoration coatings are almost always traced back to this compatibility issue being skipped during the pre-restoration assessment.
10. Get a Written Scope of Works Before Committing
Every check above should feed into a written scope of works that itemises exactly what the restoration covers. Tile replacements, ridge repointing, flashing repairs, gutter work, cleaning method, primer, and coating products should all be specified in writing before any deposit is paid.
A written scope protects both parties:
● The homeowner knows what they are paying for
● The contractor is accountable to a documented standard
● Variations during the job are assessed against an agreed baseline
● The warranty is tied to specific products and processes
A verbal quote for concrete roof tiles Melbourne restoration that covers everything in a single figure tells you almost nothing about what is actually being done to your roof.
Don’t Start a Restoration Without These Checks Done First
A re-roof Melbourne project that skips these checks saves time at the start and loses it later – through warranty disputes, early failures, and repair costs that exceed what the checks would have cost. The restoration itself is straightforward when the preparation is thorough. When it is not, the problems compound.
Camberwell Potteries Roofing has been completing tiled roof restoration and re-roof Melbourne projects across all Melbourne suburbs for over 60 years. Every restoration begins with a thorough on-site inspection covering all ten checks above. The team are accredited CSR Roofing Specialists with a 50-year performance guarantee on all work.
Call 03 9888 7088 or contact the team online to book your pre-restoration inspection.

 By
By